I started my Final Major Project by visiting The Deep Aquarium, Street Life Museum of Transport and Ferens Art Galery in Hull. I went on this trip hoping to gather my inspiration for the project. My first assignment of the project was to take loads of photographs of the things which inspired me.
I produced a project proposal in the early stage of the project. I believe that my proposal meets the requirements which I set to myself. I tryed hard to follow the project plan and I believe I managed this quite well. It might be that I delayed a couple of days of some activities.
I was inspired by the sea creatures, especially seashells, ocean colour palette and starfish, I took loads of photos and this was my primary research. The inspiration came from visiting The Deep Aquarium in Hull, the Aquarium tanks contains thousands of sea creatures. My main inspiration is seashells, particularly scalloped shaped. I selected the most inspiring photos and presented them in my sketchbook along with a responses and experiments using a fabrics, threads and ribbons to reflect the image.
The next assignment of the project was Designer research. I selected designers for my secondary research which collections was inspired by ocean theme. The designers is Valentino, Chanel and Alexander McQueen. By exploring their work further I was inspired by scalloped edge dresses (Valentino), embellishments (Valentino), shimmering mother-of-pearl whites colour palette and cascades of ruffles(Alexander McQueen).
Throughout the sketchbook I was experimenting with different fabric manipulation and surface decorations and presented them in my sketchbook. Its quite difficult to select most inspiring fabric manipulation or surface decoration. But I believe that scalloped edge is most inspiring. The shape of the scalloped edge represents rounded seashell shape.
The whole process of the project was a learning process, I did face some difficulties along the way, but the most difficult was the construction of the final garment, which is the waistband construction on the skirt. But step by step of hard work I managed to overcome this difficulty. Overall I believe that garment constructing and surface decorations are my strengths. In whole construction process I had good days and bad days. The most successful part of it was a balloon sleeve construction, I managed overcome a difficulty to work with very thin and slippery fabric and I feel that the construction of the sleeve was successful. The scalloped edge skirt wasn’t so successful as I wished. The semi circles turned out too small and not even. It means that I need to improve this technique, and overall I’m glad that I can identify my mistakes.
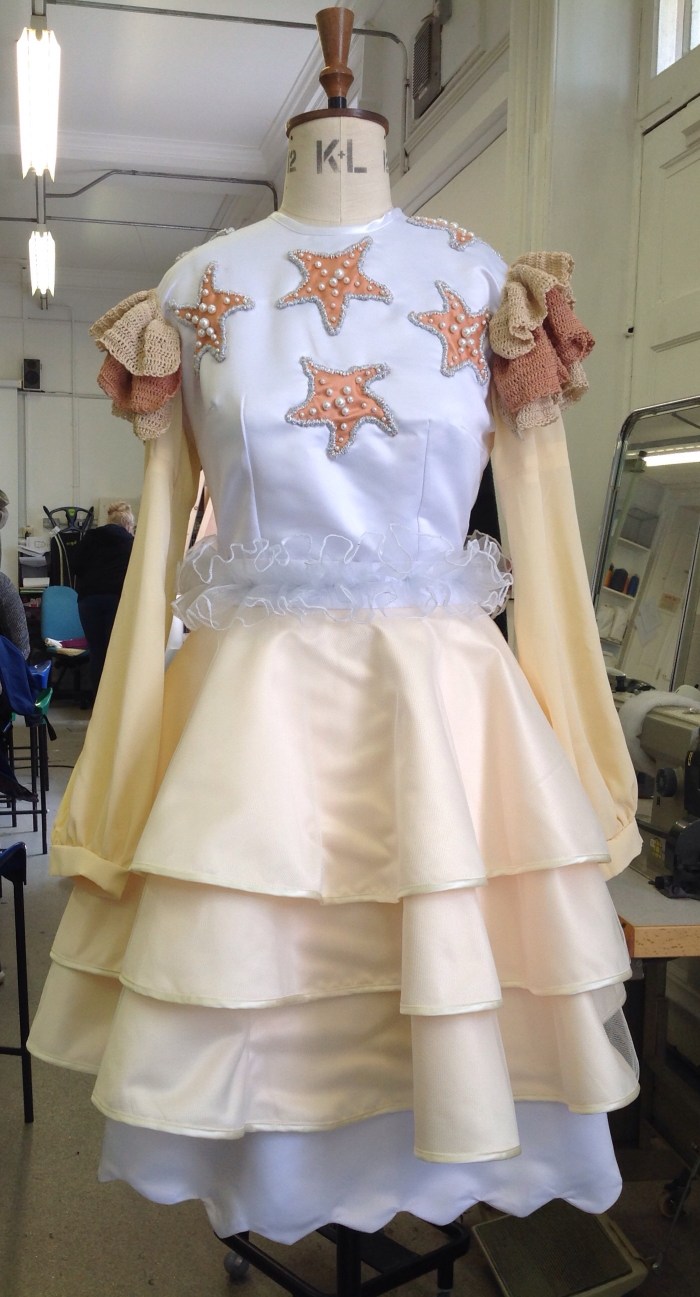
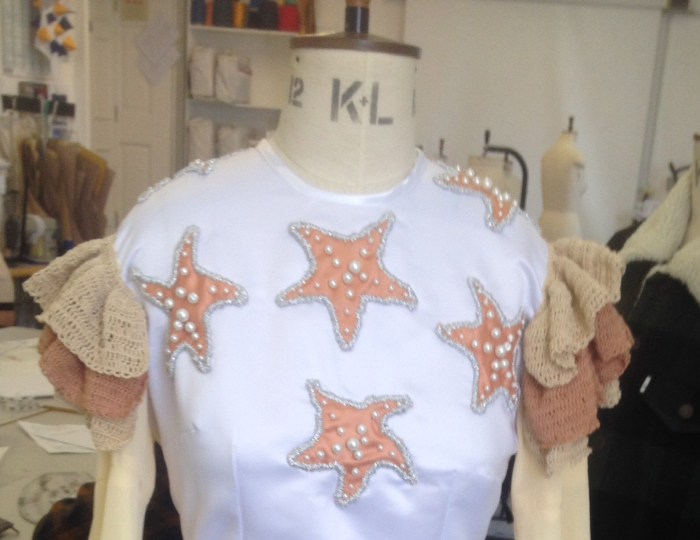
I had so many ideas for my final outfit, I was determined to put all ideas into one garment. So I had to produce at least 30 designs. Each of the designs has my inspiration included in it. Some of the designs are more detailed than others. I think I developed my ideas step by step to get closer to my decision. I feel that designing is my weakness, but I improved a drawing skills a lot since I started first year of my course. I decided on the design which includes all my influences: scalloped edge as a shape of the seashells, ruffles- full circular skirt as a texture of the seashell, starfish appliqués, ocean colour palette: mother- of-pearl whites , seashell colour palette. So both of the research primary and secondary are used in my final design.
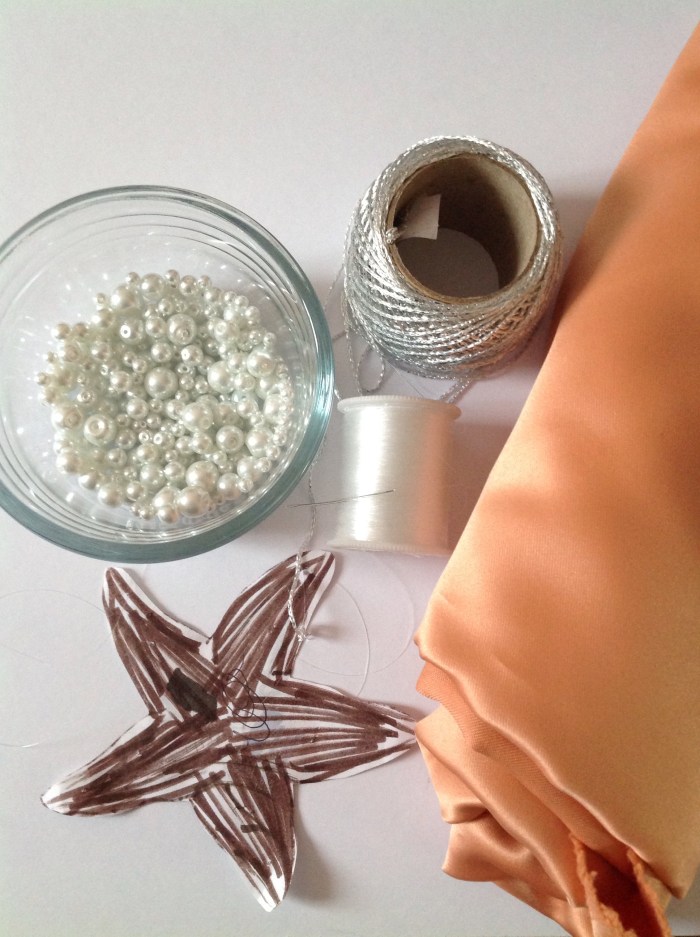
The most enjoyable part was surface decoration, I made appliqués with glass pearl beads, I made it by hand, which I believe gives a garment more individuality, I really enjoyed the stitching by hand around the edge, of course it’s time consuming, but worth it. And I was crocheting a ruffles since I started this project, because I was sure I’m gonna use them, I started to crochet so soon because it’s very time consuming.
Throughout the project I was willing to write a regular blogs. The most of the blogs I published in the end of the project, because I was very concentrated to the final garment. I never practice to write a blogs in my life time. I tryed very hard to write informative blogs, and believe that with the practise and time they would be more successful. So I hope they finished in quite high standards.
I worked very hard throughout the project and pushed myself to the limits. I enjoyed every aspect of this project. I learned loads of new skills and improved the ones I already have learned in my previous projects and as a hobbie. I’m very pleased of the outcome of the final piece and I believe that I made a successful outfit.


 Throughout this project and previous projects I learned a lot of new skills, I learned how to make a new pattern blocks: ballon sleeve, how to make a full circular skirt pattern block and the scalloped edge. The other patterns wasn’t so difficult, because I practised them to make in my previous projects. I believe that practise makes perfect!
 The next task of the project was a construction of the garment. The most trickier part of it was the attachment of the waistband, because the skirt is very heavy and thick.


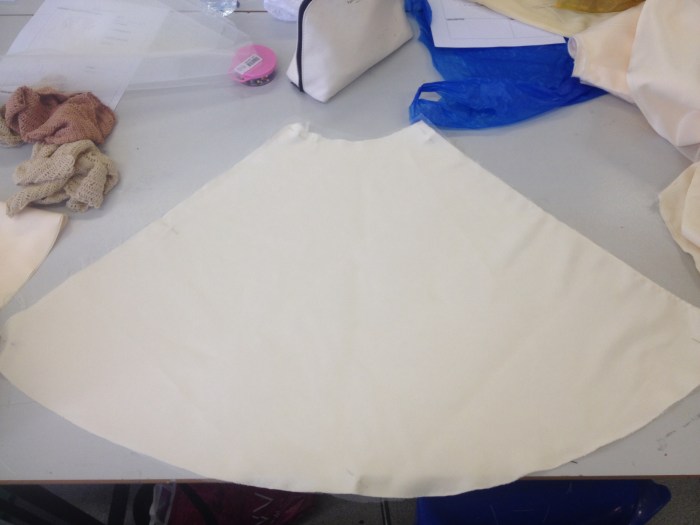
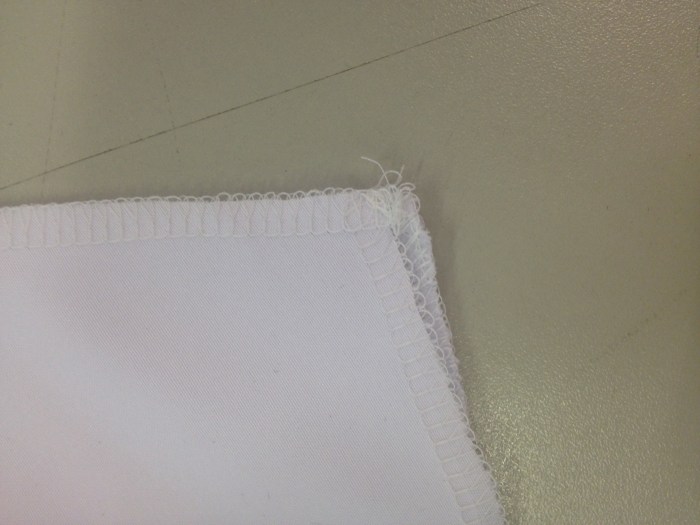
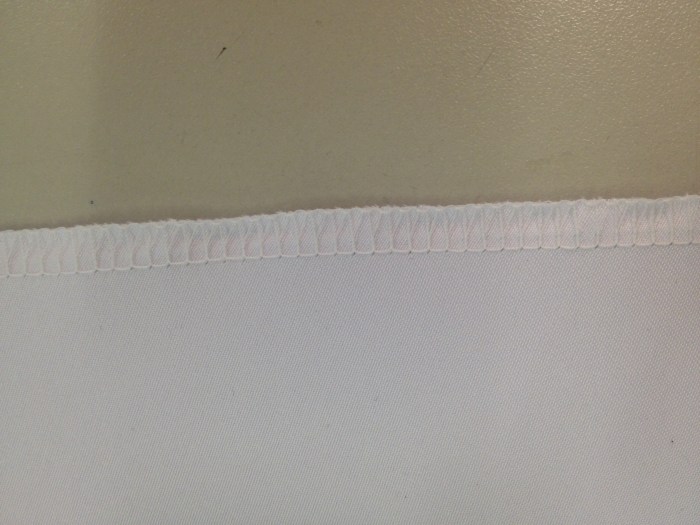
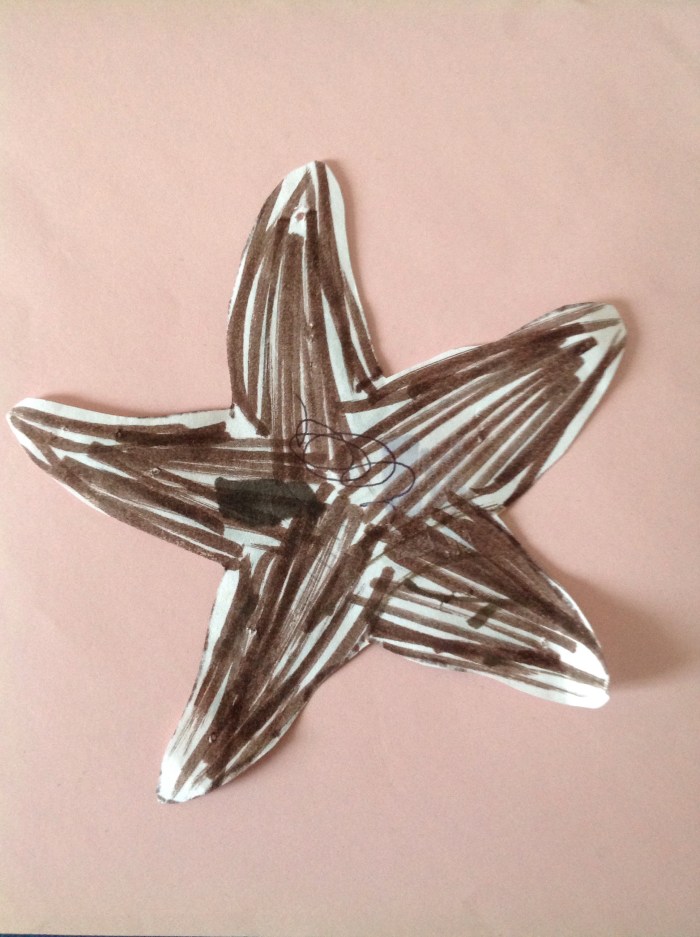 Then I cuted out of the fabric and overlocked the edges.
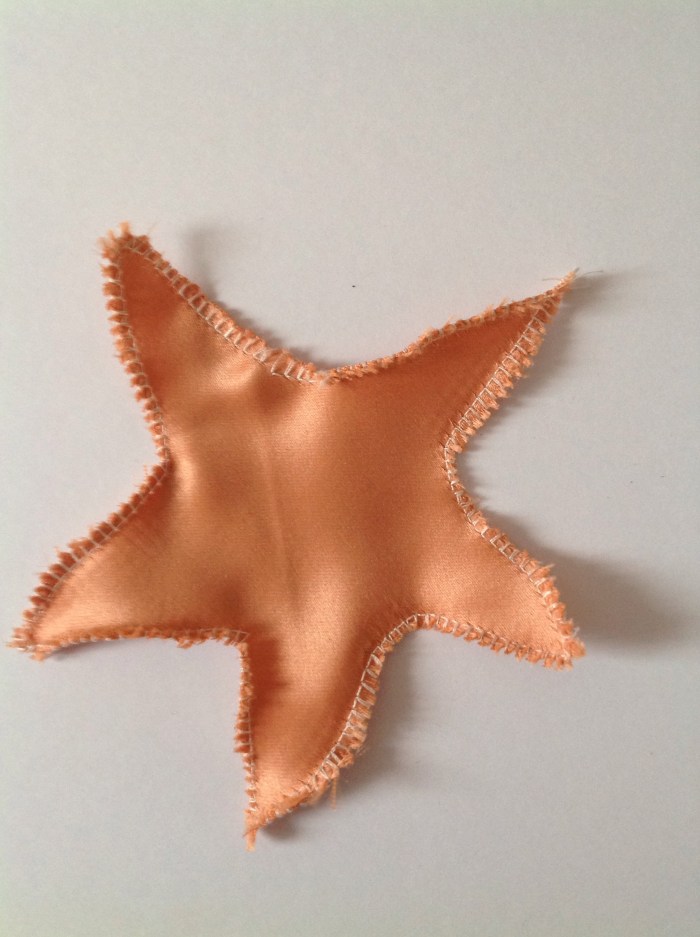 After overlocking the edges, I run the slip stitch around the edges using a silver decorative thread, it was quite time consuming.
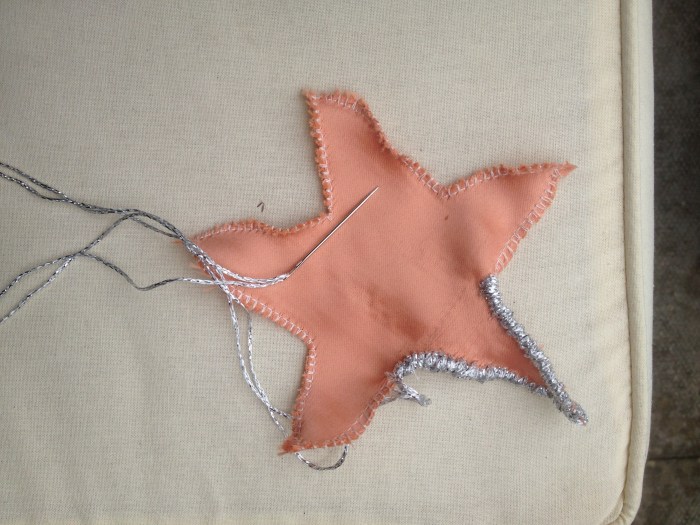 The final stage was to embellish starfish, so I sewn glass pearls on by hand and made a pattern so it looks like a starfish.
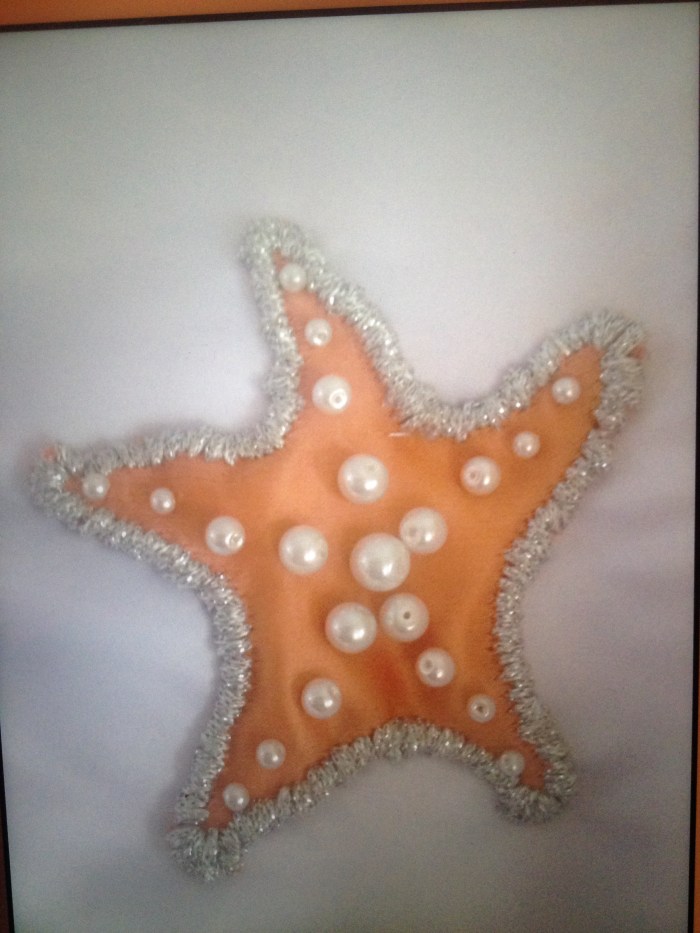 Here is the crochet ruffles and starfish appliqués.
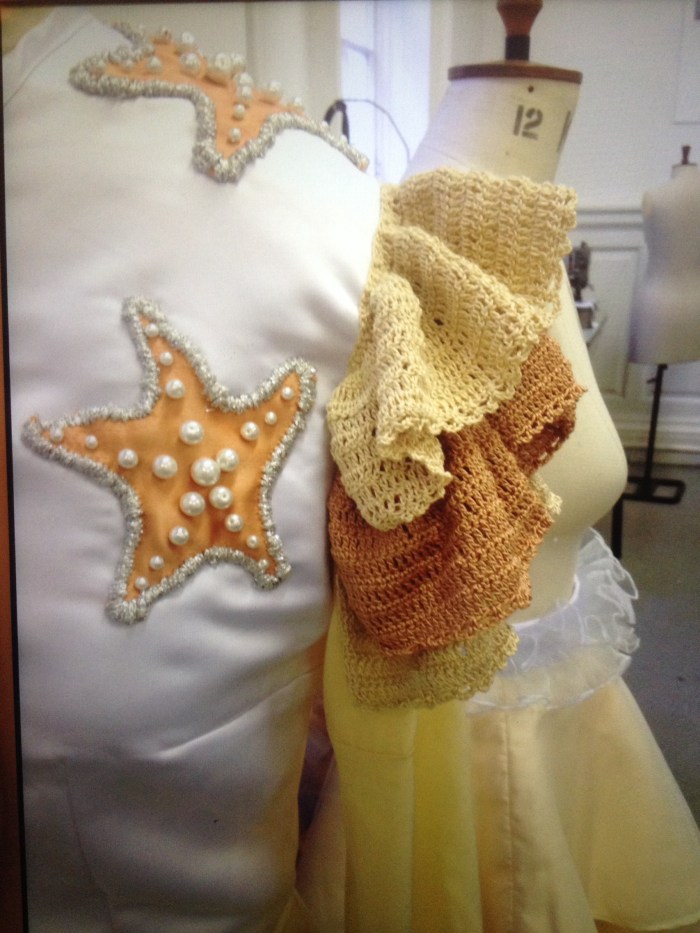
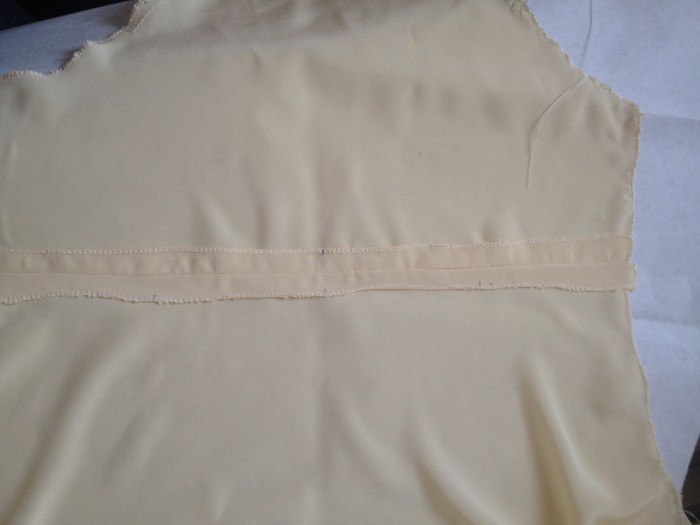
 The last surface decoration to attache is the frills, which I made using organza fabric , I cutted out a 3 long stripes of the fabric1.4 metres and 10cm width, I overlocked and made in gathers.
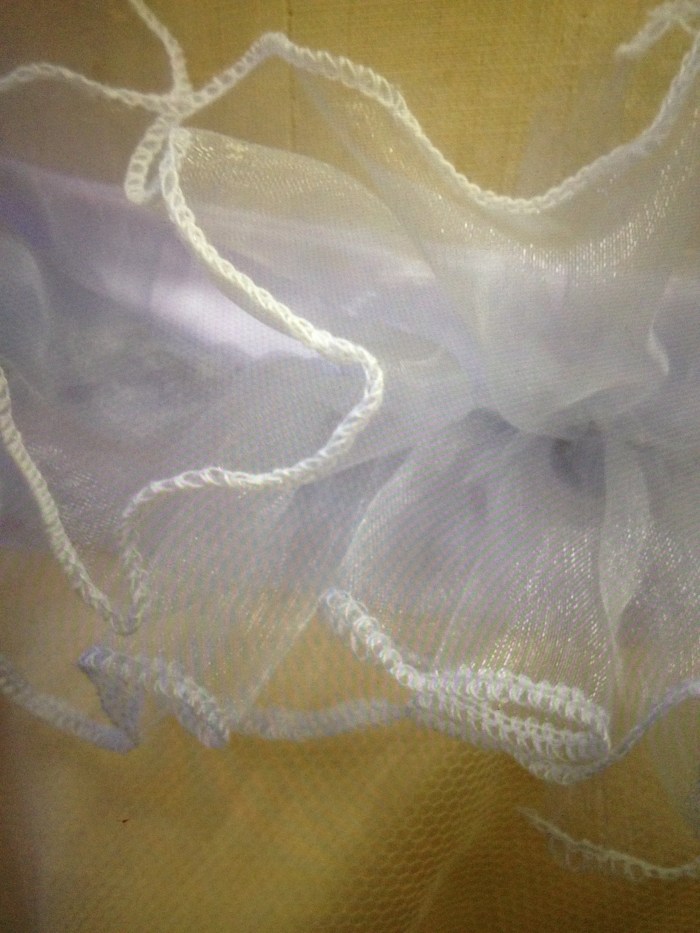 Then pined them on the waistband and sew them on around the waistband.


 I’m quite pleased that all seams comes together in the line. The next step , I turned in the overlocked edge inside the waistline and sew by hand using a slip stitch I completed the task.


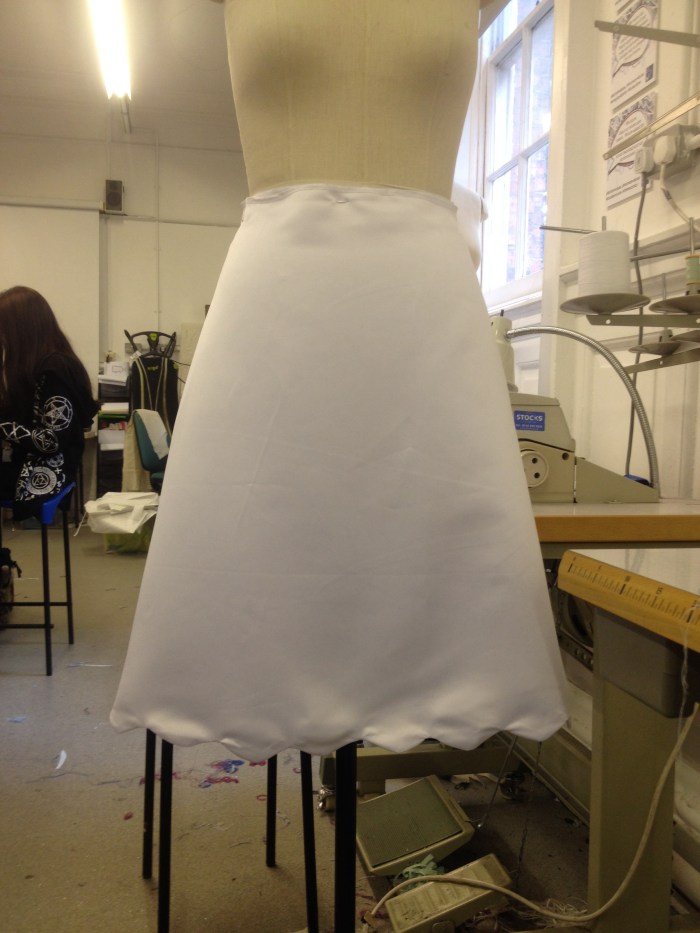
 so I used the same method on the other lenghts of the circular skirt.
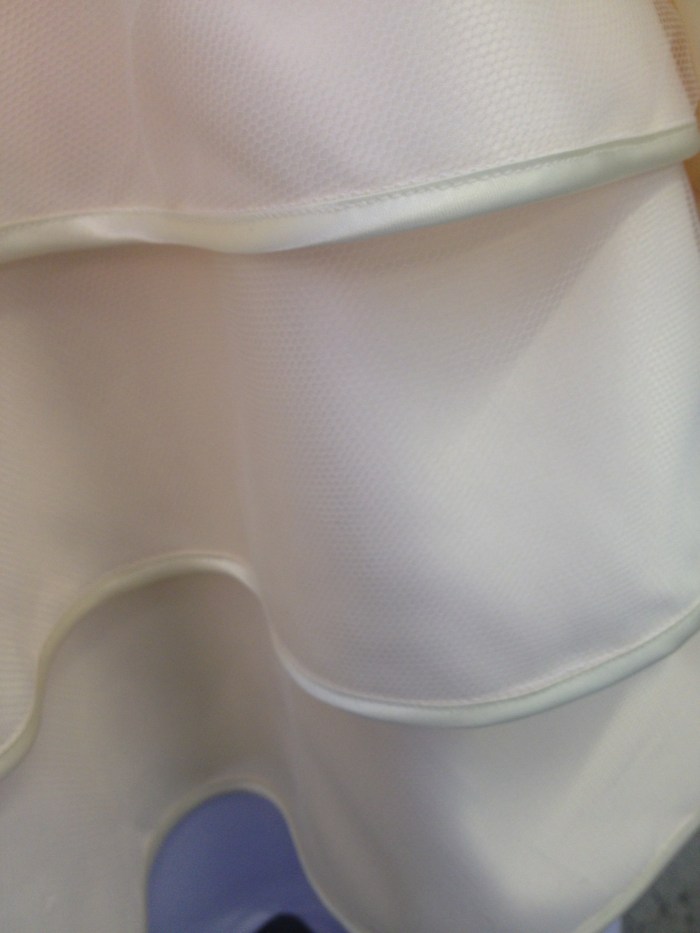 I felt very confident then sewing and adjusting the binding by hand . Now I have nice and neat edge. Very pleased with it. Before I finish this skirt I need to attache all three layers together, so I pined them together and I got very thick layer of the fabric and run the stitch close to the edge. Then I attached the scalloped edge skirt.
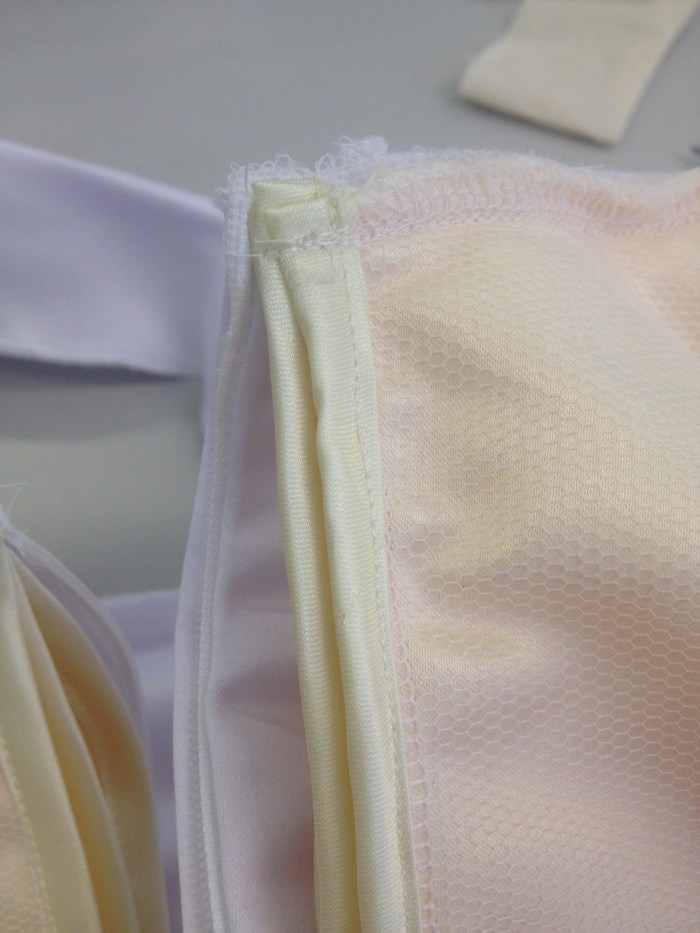


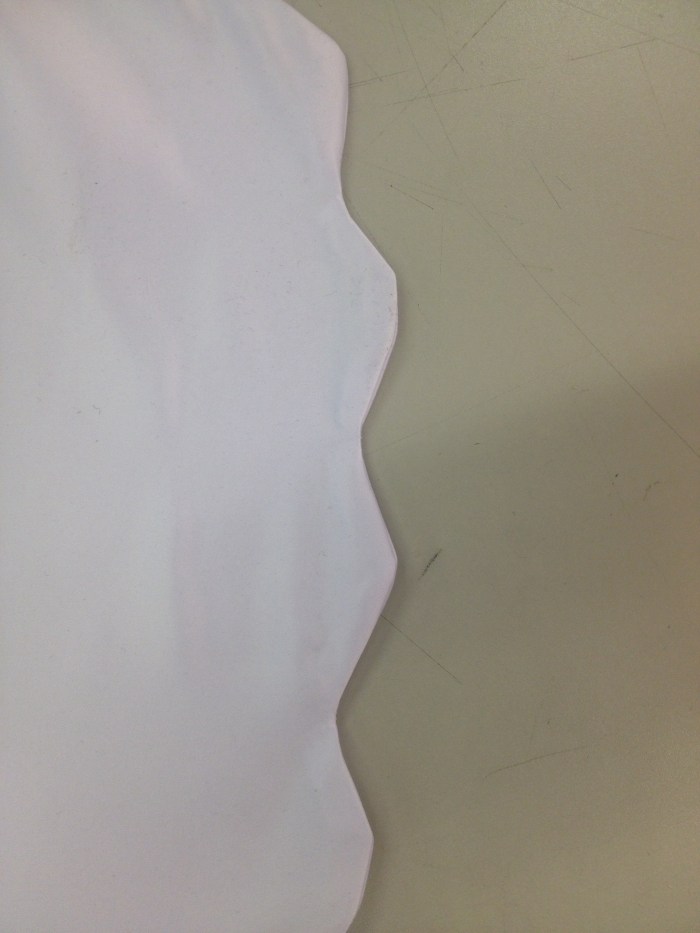 I had to manipulate with the fingers to push out the semi circles out and pressed it.


 then I run the stitch on the edge of the armhole and gather a little bit, did the same on the hem of the sleeve and gathered so it makes a balloon. Then I sew the sides of the sleeve together,i used the same method to construct the other sleeve.

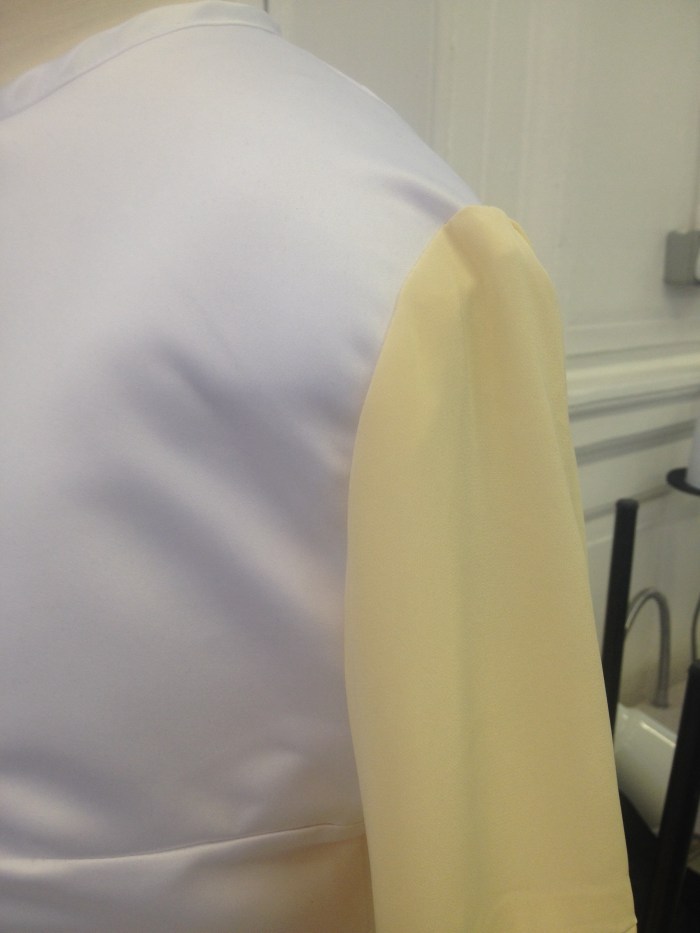 So I have all top completed!!! So happy…

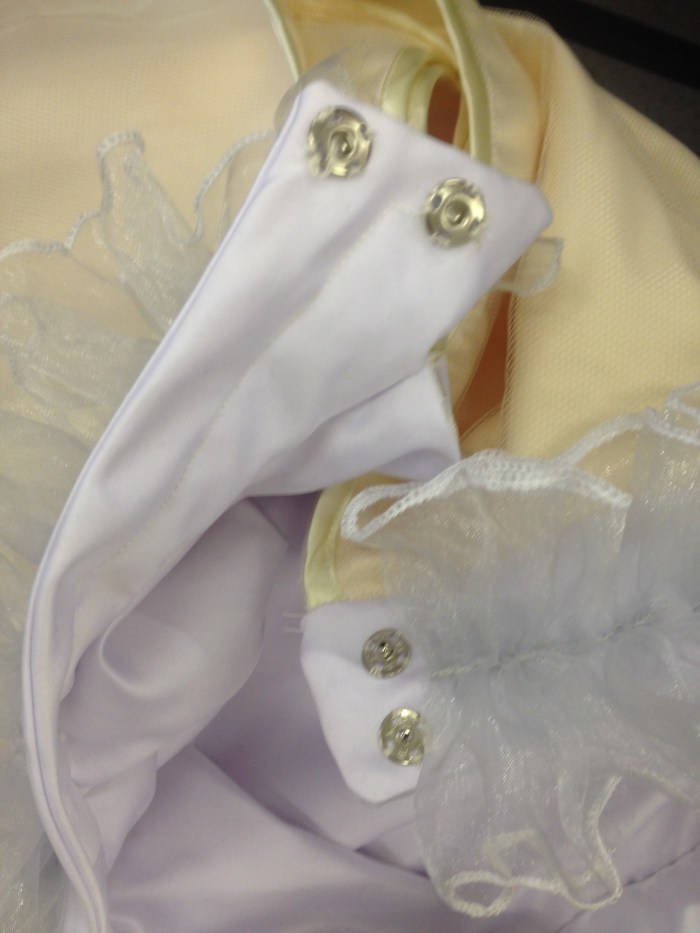
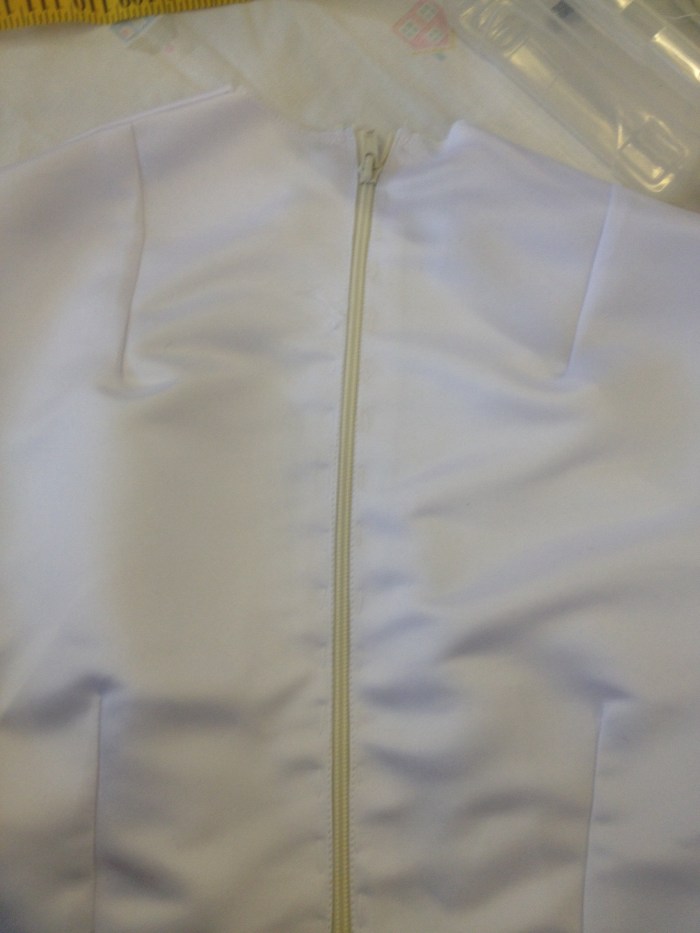
 sewn darts in, attached front and back together and sewn the shoulders and sides. I’m gonna sew the open end fly zip 42cm length. So I pressed 1.5cm edge of the Cb to the wrong side, then pind the zip and run the stitch with the right foot for the zip. I used the same method for the other side to sew the zip. I got the zip on and bodice constructed.


 On the neckline I’m gonna sew white satin binding. Firstly I sew by hand binding using slip stitch to secure it, when run the stitch using industrial sewing machine.
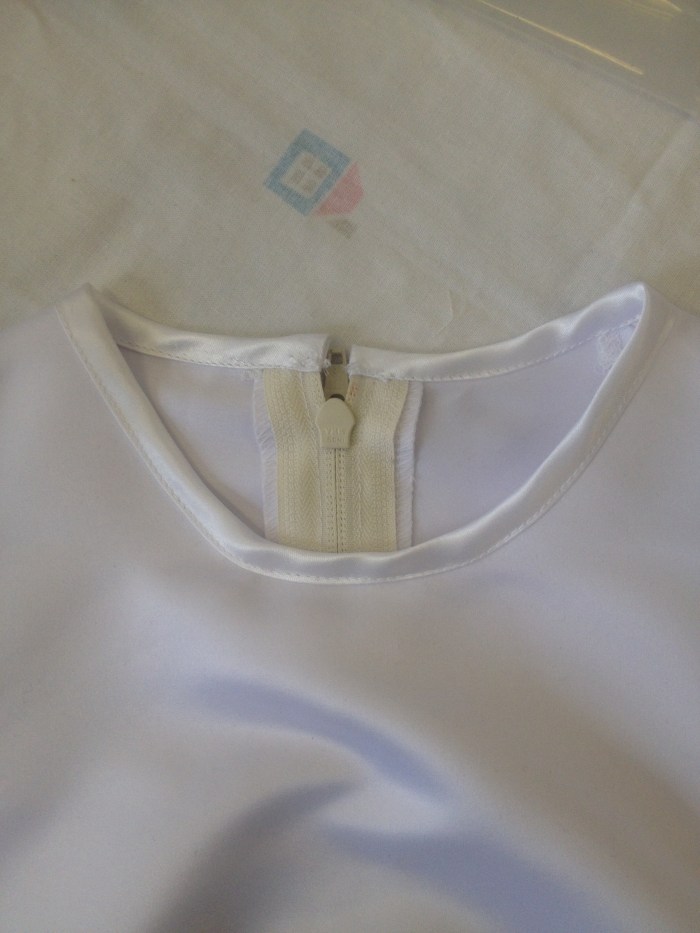 I pleased with the final product of the bodice construction !


